Crepe paper is a favorite for DIY enthusiasts and artists who desire to create something fragile yet very realistic. Despite its fragility, it is perfect for creating vibrant art and items requiring smooth finishes and more color combinations. This explains why about 60% of DIY hobbyists prefer it for their paper-based creations.
However, working with crepe paper is not that simple. You require skills to deal with its fragile texture and vulnerability to water or dust. Making it into the perfect finish can also be challenging due to its tendency to tear easily. However, with the right skills, making crepe art should be easier than you think.
The fragility should not hinder you from integrating it into your craft. For starters, you can refer to these tips to help you create the best art project.
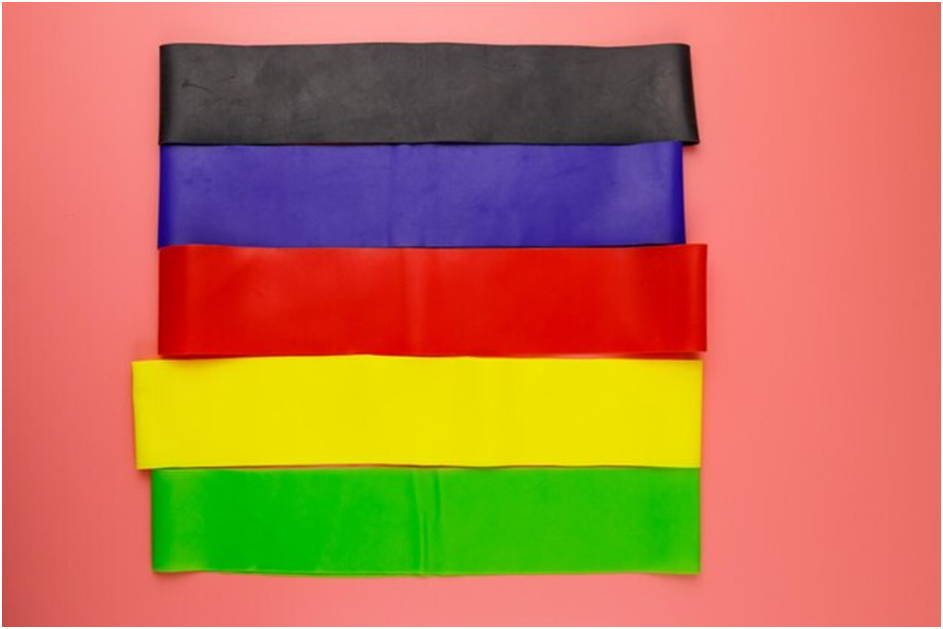
1. Choose the Right Type
They are available in different types depending on color, thickness, and weight. Not all of them suit your needs; hence, you should be specific when buying the perfect one.
Luckily, there are many variations, such as thick or light ones. The lighter one is about 40gsm, while the thicker ones tend to be double that and more. Also, the decision will depend on the type of art you want to create. For example, you need thicker ones to make big art or display items.
The thicker ones are suitable for décor finishes, like creating a backdrop. The light ones will be a good choice if you need to craft small objects or paper strip decor.
So, before you order any crepe paper, ensure you know the exact type you need. You should also buy them from a reliable dealer who stocks all the variations and colors.
2. Put It on a Fabric Mat
When cutting or making shapes, you should be aware of sudden crumples and inconsistencies that may arise when the paper is not straight on the surface. Ideally, the surface you are working on must be smooth and flat. You can put it on a table, countertop, or floor. However, fabric mats work the best, ensuring the paper is firm and does not wriggle as you cut.
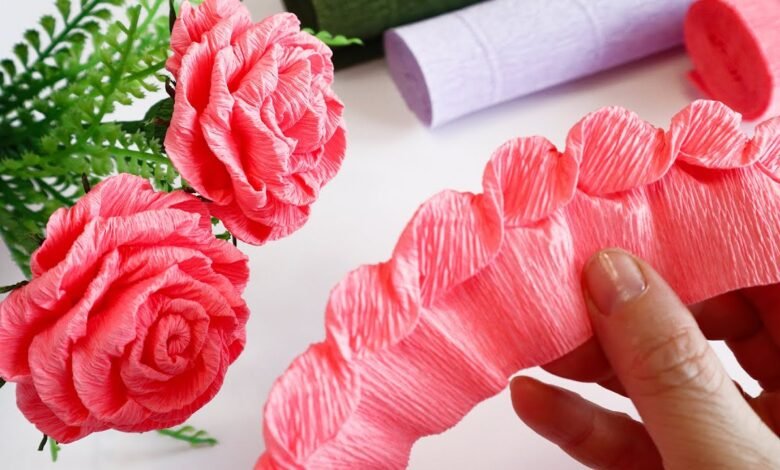
3. Refine Your Wrapping Techniques
You should stretch the paper thinly to coat the object. This process will help you create a smooth finish with consistent surfaces and no signs of overstretching. First, finish the object you wish to wrap, then gently pull the paper over it. Gently pull the paper over the wire or object, then pull gently to tighten the parts that look saggy.
4. Set The Right Pressure When Cutting
Despite being light, ensure you exert enough pressure to cut smoothly. Applying more pressure will help you avoid wavy or uneven edges. Whether using scissors or a paper cutter, apply enough pressure to enable the blade to penetrate smoothly without bending the surfaces.
5. Secure it Appropriately
Not every adhesive is perfect for these crafts. You should avoid sticky or high-moisture glue since it can soak everything or cause wear and tear. So, work with low-temperature glue, which will dry fast without wetting the paper or leaving marks on the surface.
If you must use tape, use a double-sided one to help you attach it to the object without sticking to the wrong area. This type of tape can easily stick on both surfaces without creating uneven surfaces.
6. Select The Perfect Cutting Tool
A scissor would be okay for smaller crafts that require high precision. However, if you just want to cut plain or thick paper, use a blade. Sometimes, it is good to use paper cutters to ensure precise edges on the thick papers. The tools to use will also depend on the crepe’s thickness.

7. Protecting the Papers
First, do not work in any space with high humidity or too much wind. The wind and moisture can soak everything, interfering with the entire creation.
After creating your craft, store it in an empty box or away from other objects. Since crepe paper cannot be cleaned, keep it away from dusty surfaces. You can use a protective spray to help you create a thin film to protect it from external conditions.
8. Use the Perfect Folding Tool
Use a bone folder to help you fold the surfaces smoothly and perfectly. This is essential since wrapping or folding the paper with your hand could lead to rough finishes or damage caused by wet fingers.
9. Be Gentle When Stretching
To make all the realistic curves, edges and waves, you need to be gentle and take a lot of time to evenly shape every surface. The whole process can be even harder when working with smaller objects or those that require precision, like flowers. Luckily, you can use different tools. However, the tools won’t help you accomplish every task. Thus, you must train your hands to be gentle and diligent with every step.
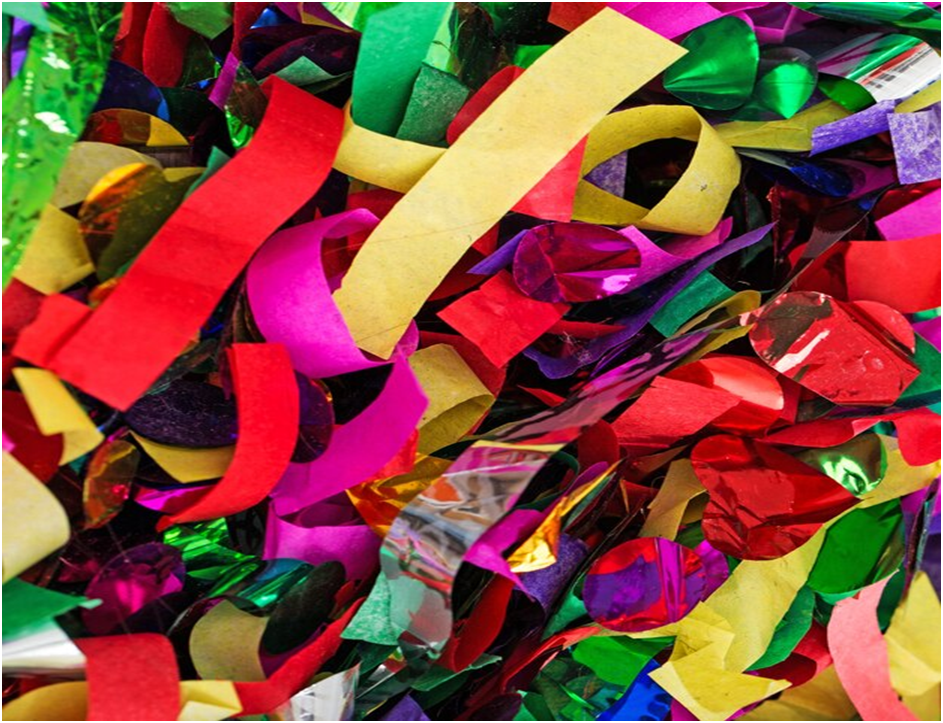
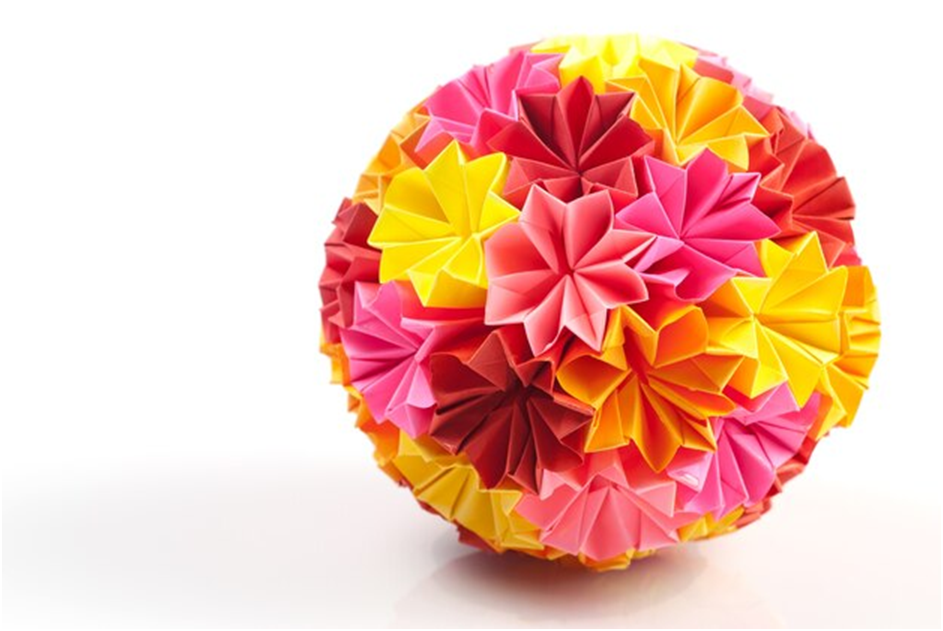
10. Blend the Colors
Making the perfect crepe paper art takes a lot of effort; however, you can achieve more by simply using different colors. Regardless of the art, try and use at least two papers to create a perfect visual appeal. You can even use more, especially for larger prints.
For a perfect finish, ensure the colors do not clash. You can mix a brighter one with soft pastels to focus attention on the details and create craft richness.
Final Thoughts
Working with crepe papers requires patience and precision. However, if you have the right material and follow these tips keenly, creating the perfect art should be smooth.
Remember to also have the right tools, like adhesive, cutting and folding tools, to help you simplify the process. For a perfect and appealing finish, work with different colors and crepe papers with glossy surfaces.